Using the WordPress Block Editor: A Gutenberg Tutorial
Table of Contents
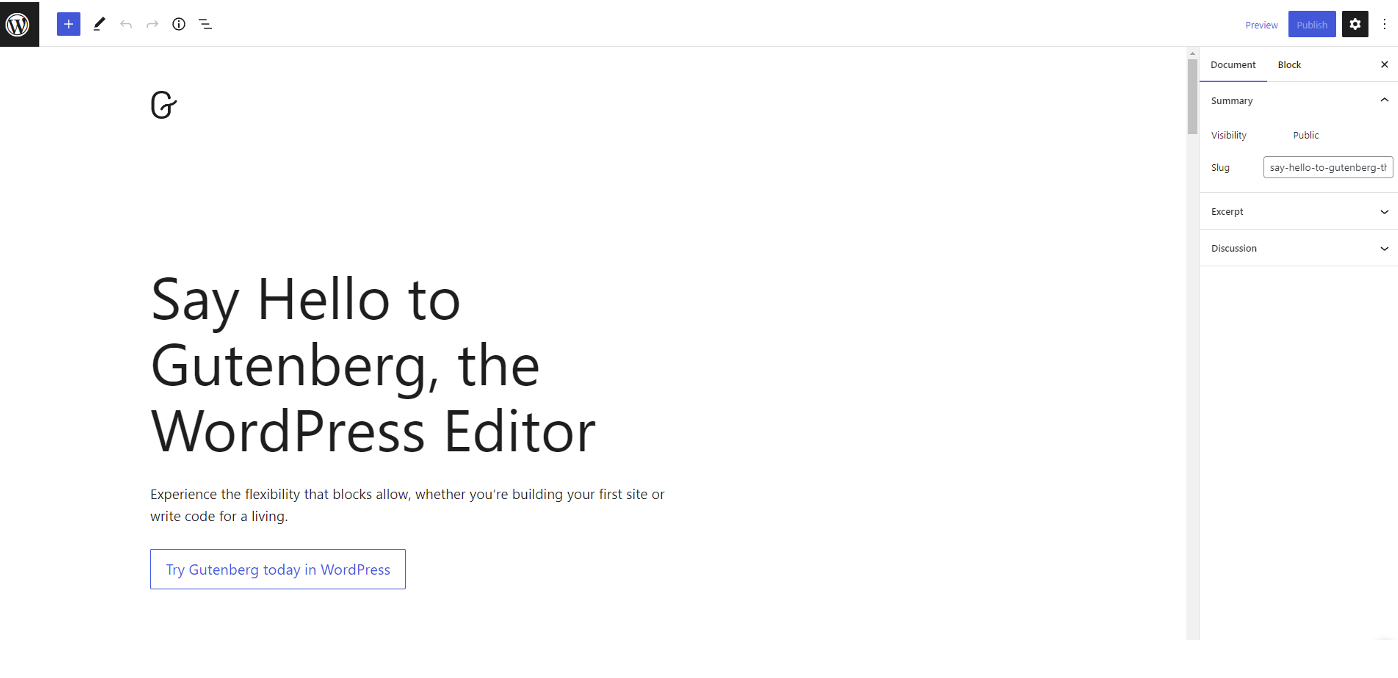
WordPress’s classic editor was replaced in 2019 with the Gutenberg Block Editor. Although the new editor is clearly packed with capabilities, it offers a unique—or perhaps we should say more complex—method of editing content.
The WordPress Gutenberg editor has been getting quite a bit of attention. Many users have been wondering how to use the block editor, and others have been asking whether it’s worth using in the first place. Also how does the WordPress Gutenberg editor compare to the WordPress page builders such as WPBakery page builder or Elementor page builder.
This guide will help you gain some insight into how to use the WordPress block editor efficiently and effectively.

Difference between Classic Editor and Gutenberg Block Editor
WordPress’s classic editor provided users with a straightforward WYSIWYG editing tool. This editing program has a small feature set. Anyone who desired further functionality, such as button addition to the page or other similar improvements, required a separate plugin to do so.
Naturally, utilizing various tools was harming the functionality of the website, and at the same time, it was challenging for editors to add new elements.
The necessity for the Gutenberg block editor plugin resulted from this. The way we write material has technically altered thanks to Gutenberg. Since the Gutenberg editor already includes buttons, columns, and other dynamic options, individuals no longer need to add separate plugins for those functions.
There are some wonderful features in Gutenberg that weren’t present in the prior content editor, including:
- Buttons
- Easy to adjust fonts
- Dynamic content editing options
- Column-based layouts
- Full-length image adjustment
How To Create A Post Using The New WordPress Gutenberg Editor
- To create a post using the new WordPress Gutenberg editor, click on the Add New button in the left sidebar of your dashboard.
- This will take you to a page where you can start creating your post.
- At the top of the page, you will see a bar with different blocks that you can use to build your post.
- For example, you can add a title block, an image block, a paragraph block, etc.
- Simply click on the block you want to add and it will be added to your post.
- You can then move around and rearrange blocks as needed

Blocks in Gutenberg
Gutenberg includes a variety of website blocks by default, including photos, videos, audios, text types, fonts, buttons, and HTML blocks. However, just like installing a plugin, you can add more blocks to your WordPress website.
You may want to add a reusable block to your WordPress website from time to time. A block that does not need to be changed repeatedly. This is when Gutenberg’s reusable blocks feature comes in helpful. Users can utilize the block editor tool to build a reusable block from the current block.
The best thing about utilizing Gutenberg is that you can import and export your reusable blocks. Assume you changed your hosting server and installed a fresh instance of WordPress. Your block data will be destroyed.
You can restore the blocks to your WordPress website using the Gutenberg import/export block editor function. The WordPress central repository houses all reusable blocks. Click the “Manage All Reusable Blocks” option to access the reusable blocks. This will open the “Block Manager” page.


